
Guide for Non-Techies: How to create a FREE blog easily (No server, No database, can be access 24/7)
Guide for Non-Techies How to Create a Free Blog Easily
1. Context:
If you’re a reviewer, marketer, book reader, or someone with expertise to share, blogging is a fantastic way to write, share knowledge, and build your personal brand. However, choosing the right platform can be tricky, especially when you’re looking for something simple and efficient.
Many turn to popular Content Management Systems (CMS) like WordPress or Notion to write and publish content quickly. While these platforms help you deploy a website and share content with ease, they do have their drawbacks.
WordPress (Not Free, for an usable blog)
- Not beginner-friendly. You’ll likely need tutorials to design your blog effectively.
- Limited customization, more plugins required you with expensive subscription fees.
- Built with outdated PHP technology, making it hard to maintain technology of the blog.
Notion (Not Free, for a nice url of the blog)
- URLs are clunky, often containing random hashes, which makes them less professional.
- Hosting your own domain requires a $10 monthly fee, which can add up over time
Biggest Drawback
Both platforms come with a significant limitation: your data is entirely dependent on their systems, and you have no control over the underlying source code of your blog. This means you’re using the platform but lack the ability to customize or modify the technology behind it.
As a result, if your content becomes valuable or requires privacy, your data essentially belongs to a third party. This lack of control can be a major drawback, especially when building a personal brand or handling sensitive information.
Solution
We use the FREE & AUTO CONFIGURED open-source Jekyll platform with GitHub to store your blog content directly in GitHub’s file system. This approach eliminates the need for a database or complicated HTML source code to host your blog.
However, the blog might feel a bit simple and focus =))) It’s not the most colorful or visually flashy option, but it’s perfectly sufficient for delivering content quickly. This approach prioritizes knowledge-sharing and ensures your blog is clean, clear, and highly readable.
All you need to do is write simple Markdown files (similar to Notion’s syntax) and update to the folder posts/, and it automatically publishes your post to the blog directly.
2. Total Cost
Step 1: Prepare a Credit/Visa/Paypal card, around 0.98$/year for your domain (20k VND per year 🙂, cheaper than a cup of milk tea which makes you fat).
Step 2: Buy domain
- Visit a Domain Provider
- Go to a domain provider like Namecheap or GoDaddy.
- I recommend Namecheap for its excellent customer support and user-friendly interface.
- Search for Your Desired Domain
- Enter the name of the domain you want to buy.
- For example, if I want a domain for my account “anduckhmt146,” the system might suggest options like: anduckhmt146.com, anduckhmt146.net, anduckhmt146.site, etc.
- Choose Your Domain
- Select the domain that fits your needs.
- Keep in mind:
- Domains with extensions like .com, .net, or .org are generally more expensive.
- For blogs, .site is a budget-friendly option, often priced as low as $0.98.
- Complete the Purchase
- Add the domain to your cart, proceed to checkout, and follow the steps to complete your purchase.
- Remember to turn off the auto-renewal feature 😂 unless you’re okay with being charged $40 next year! Auto-renewal is great if you plan to use the domain long-term, but if you’re just running a small blog to share knowledge, you can always purchase a new domain for $1-2 when it expires.
3. How to do 🙂
Step 1: Create Github account, sign up/sign in with Google is enough 🙂
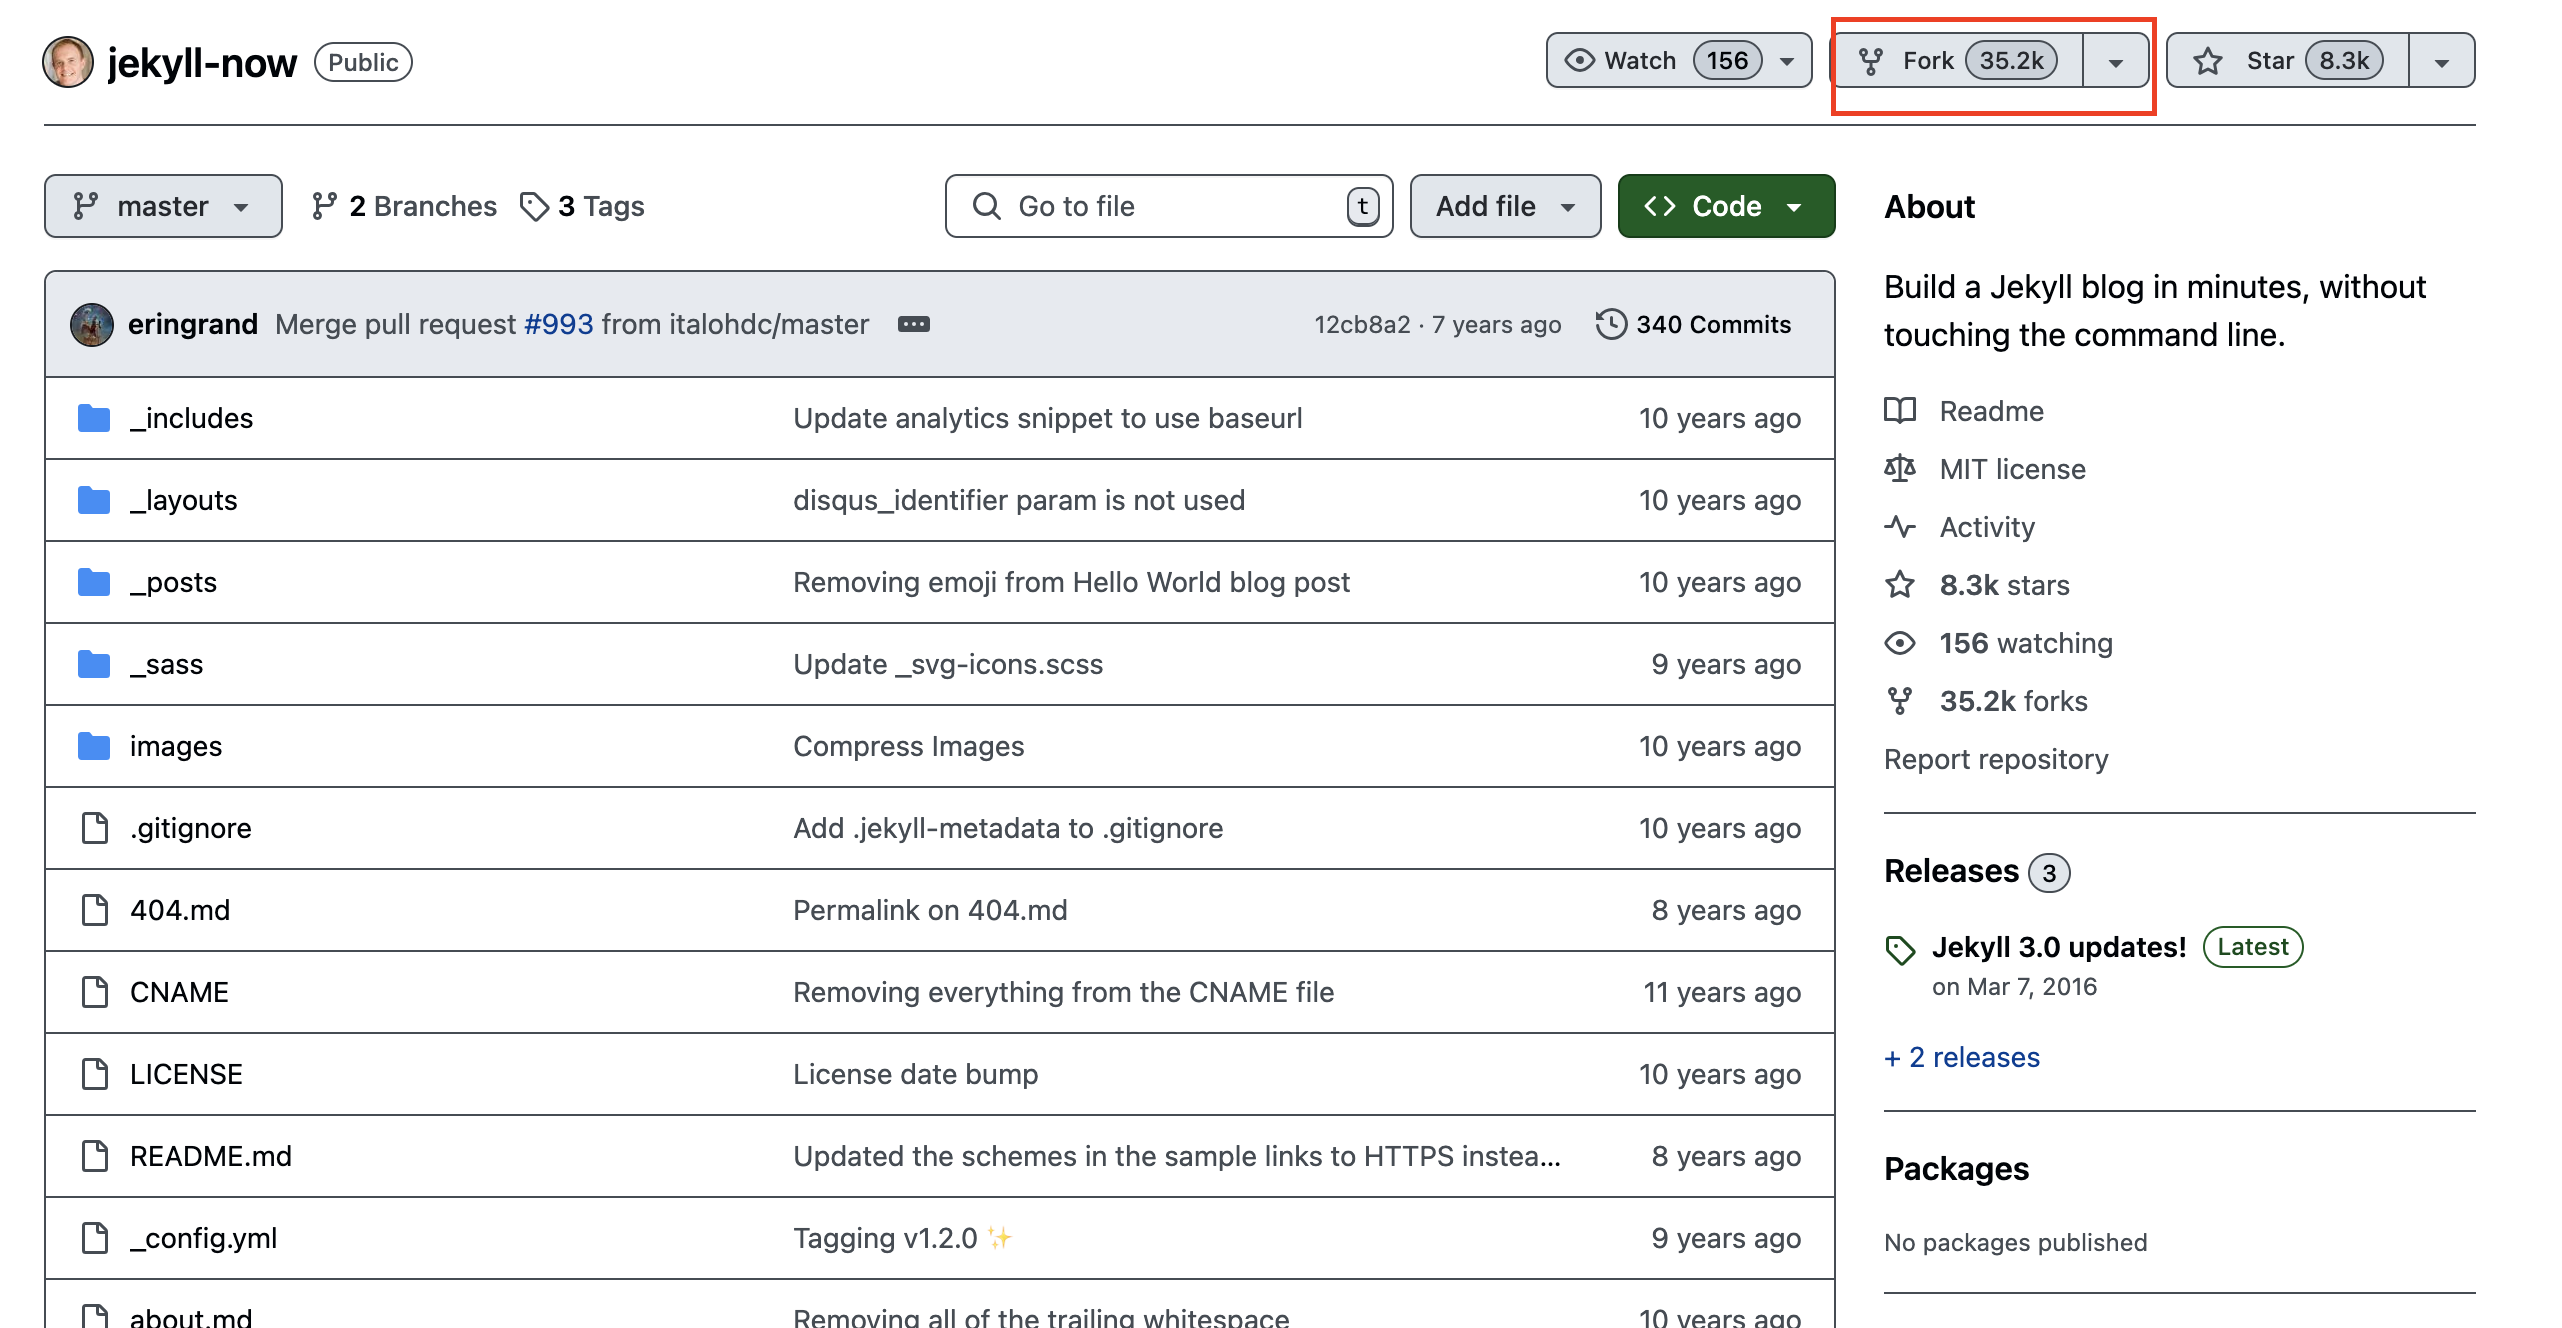
Step 2: Fork the repo https://github.com/barryclark/jekyll-now
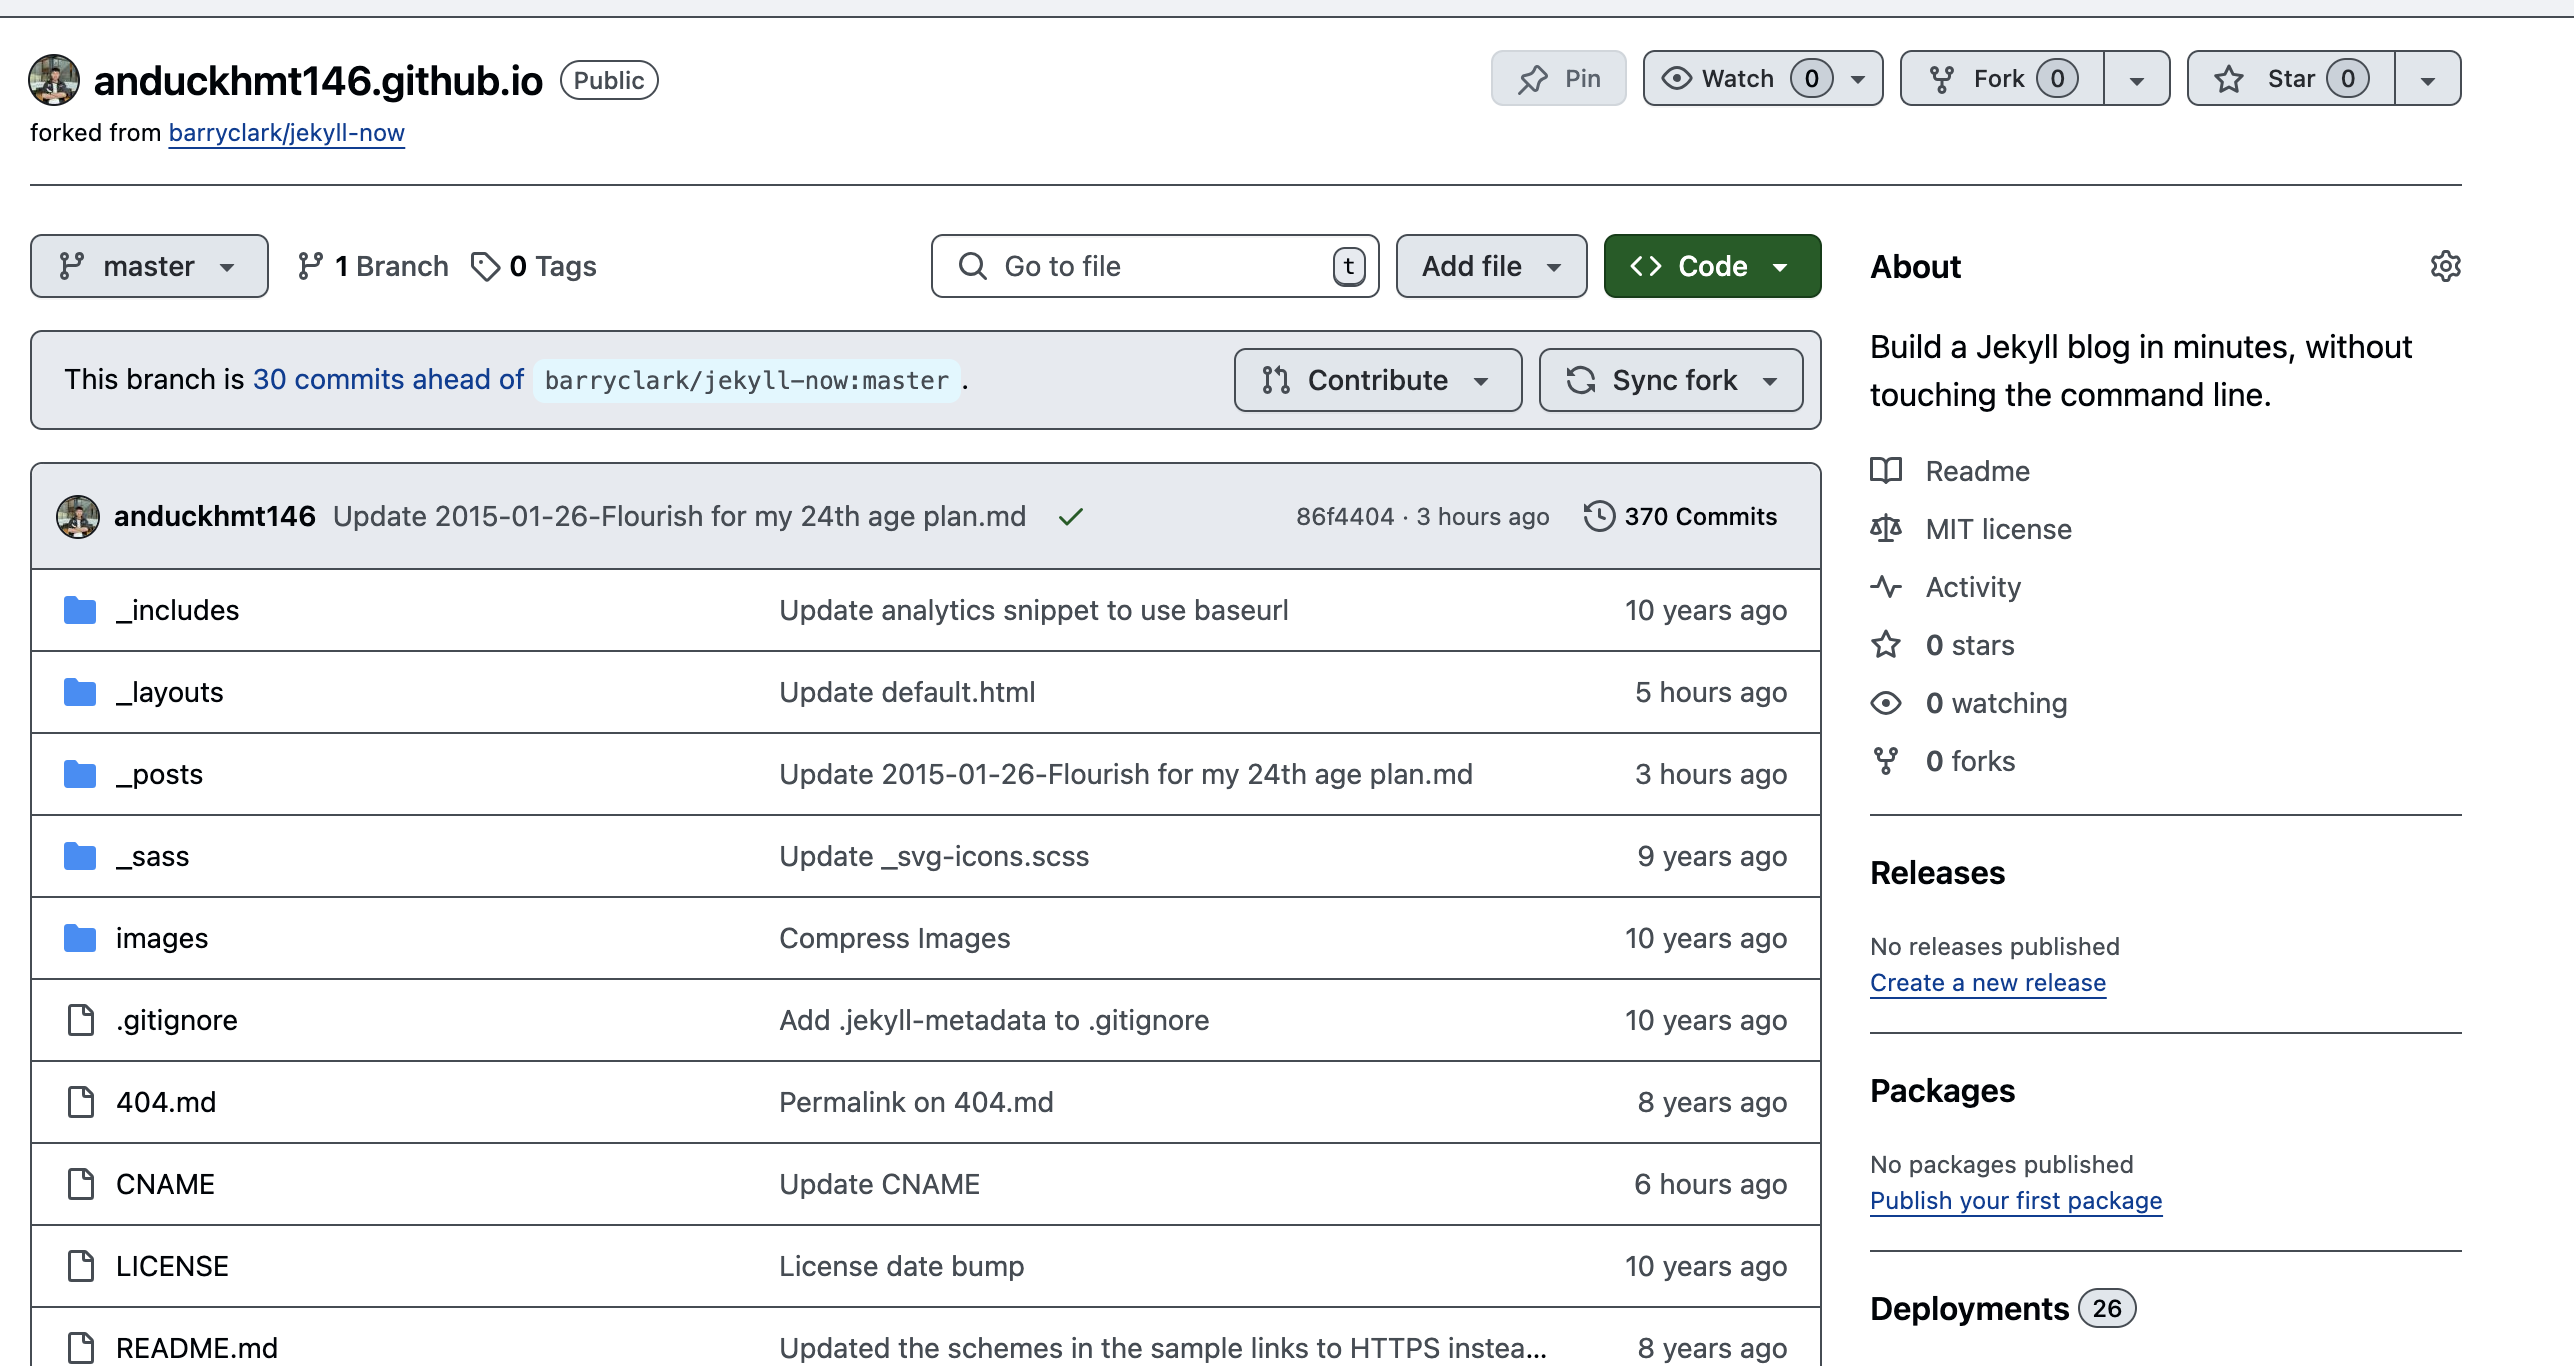
Step 3: Open the repo that you have been forked, rename the repo to your-username.github.io, for example my username is anduckhmt146, so repo name is anduckhmt146.github.io.
Step 4: Open network access in your domain in Namecheap for Github IP, similar to Go Daddy or other domain providers
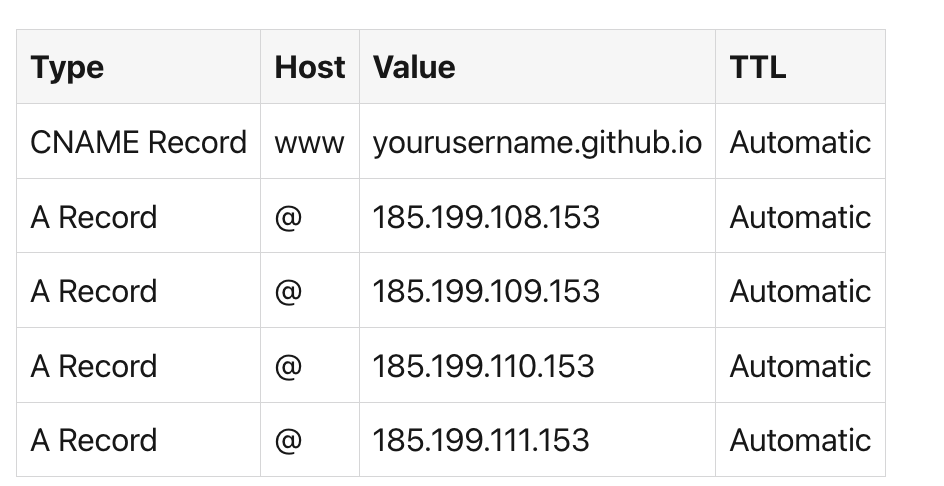
- Click to “Advanced DNS”, and set up data configuration as same as following rules
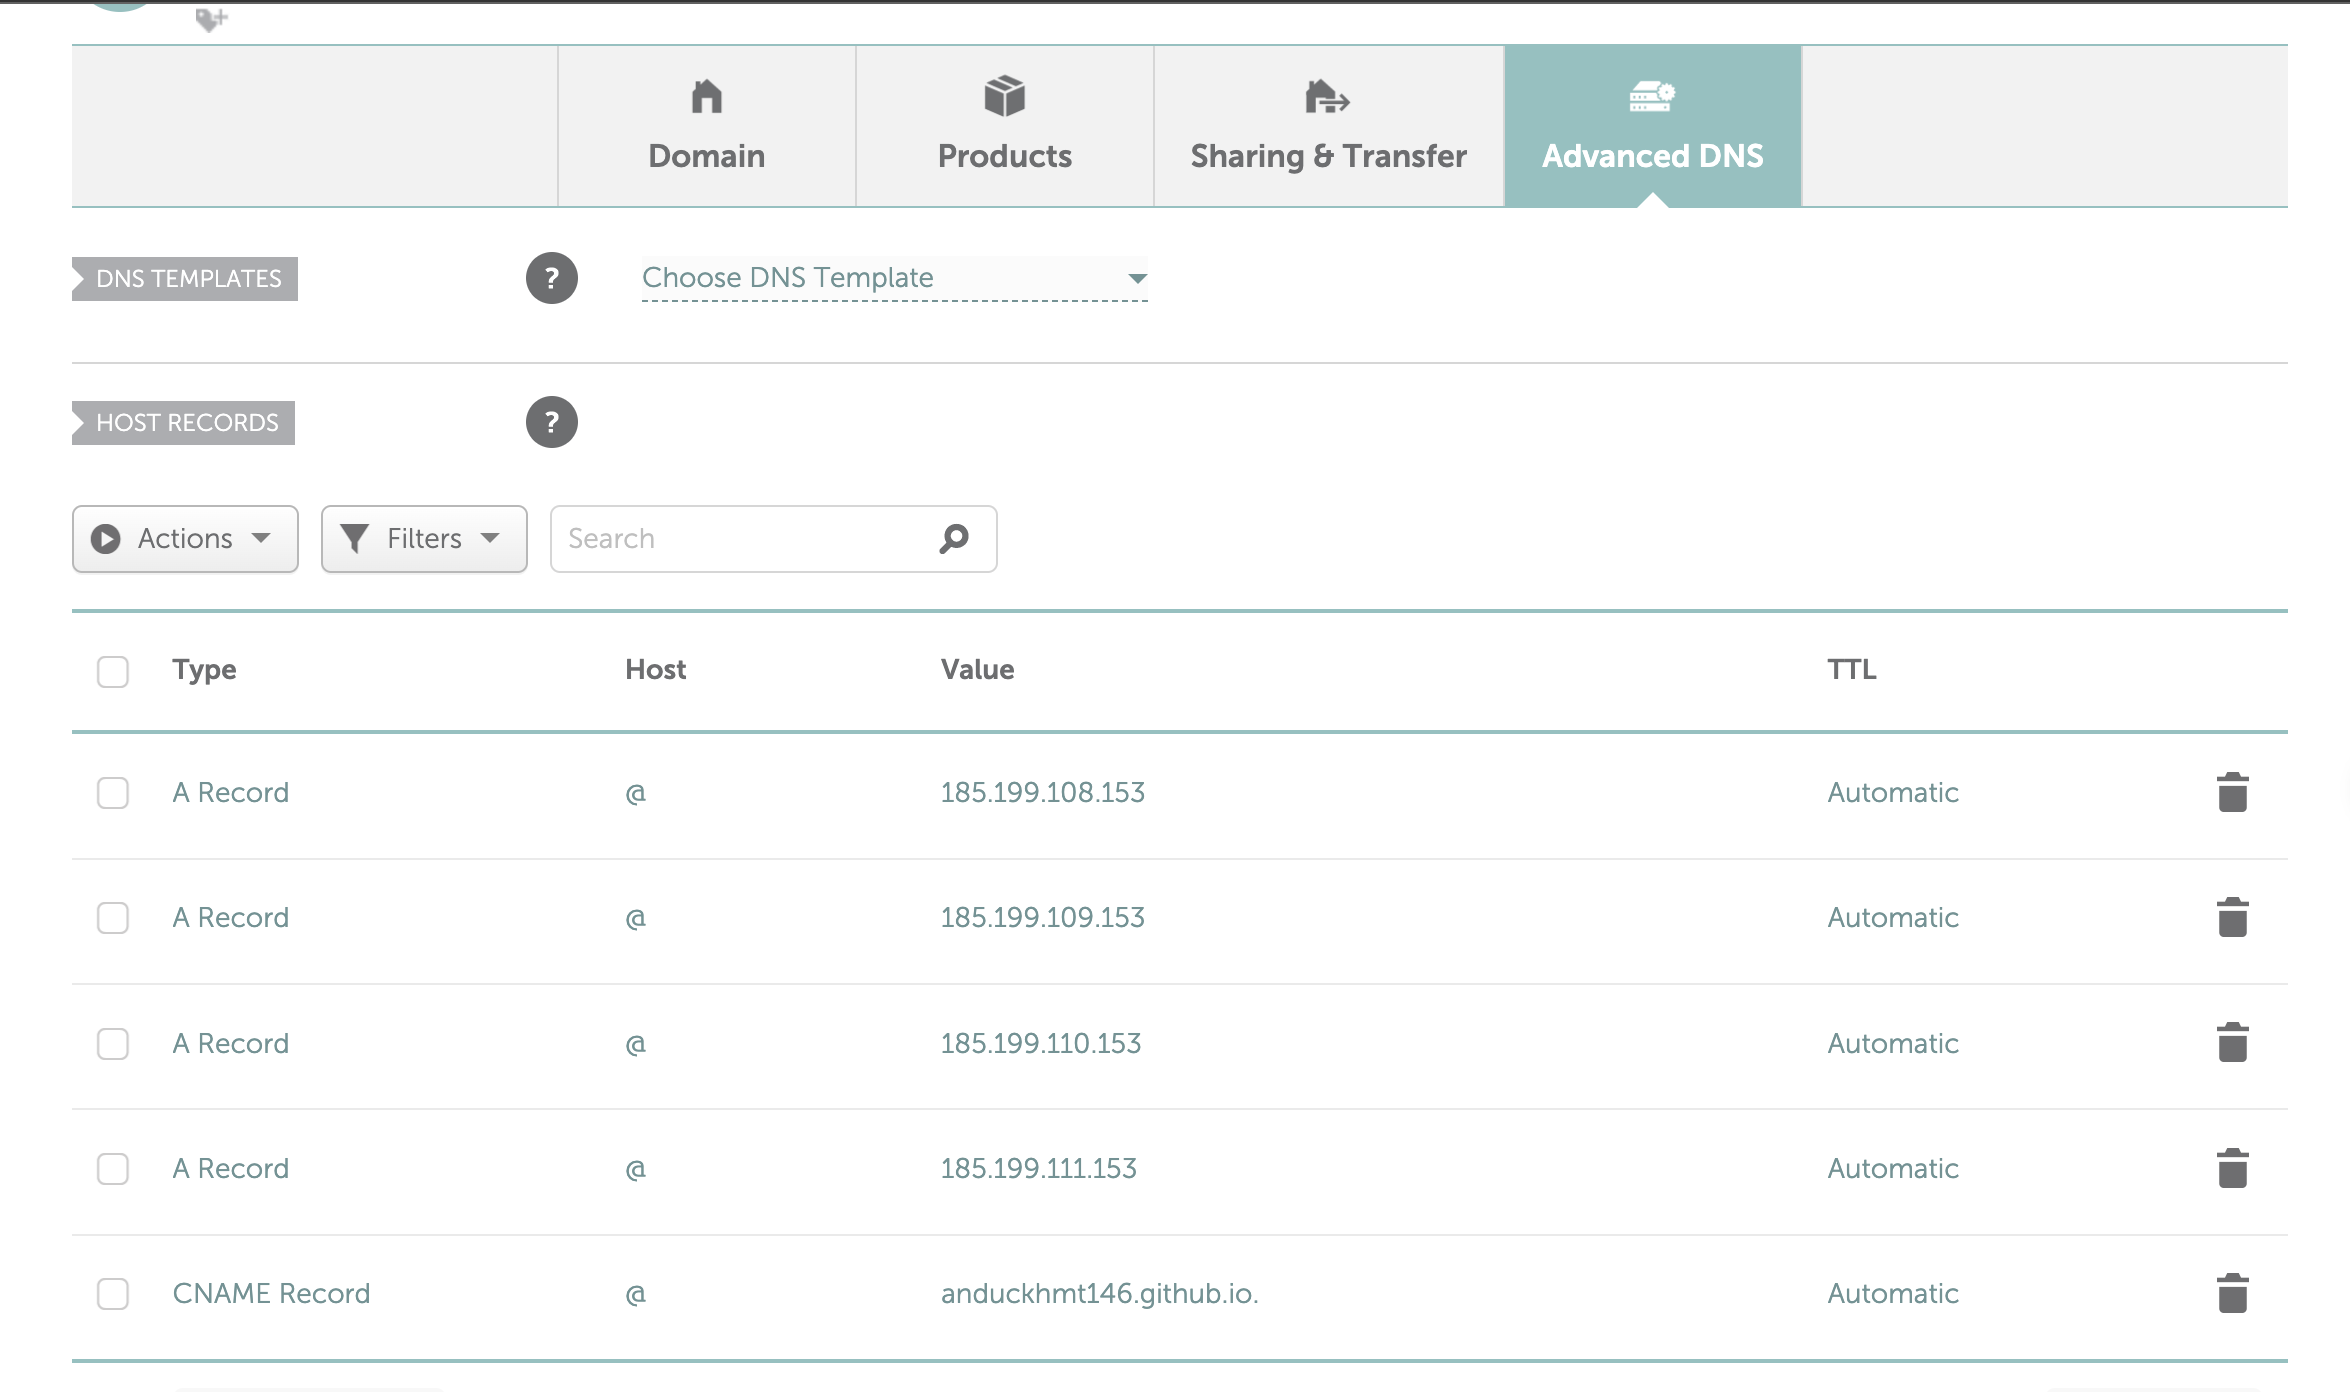
- Reference: https://dev.to/pauljwil/connect-github-pages-to-your-namecheap-domain-4gjj
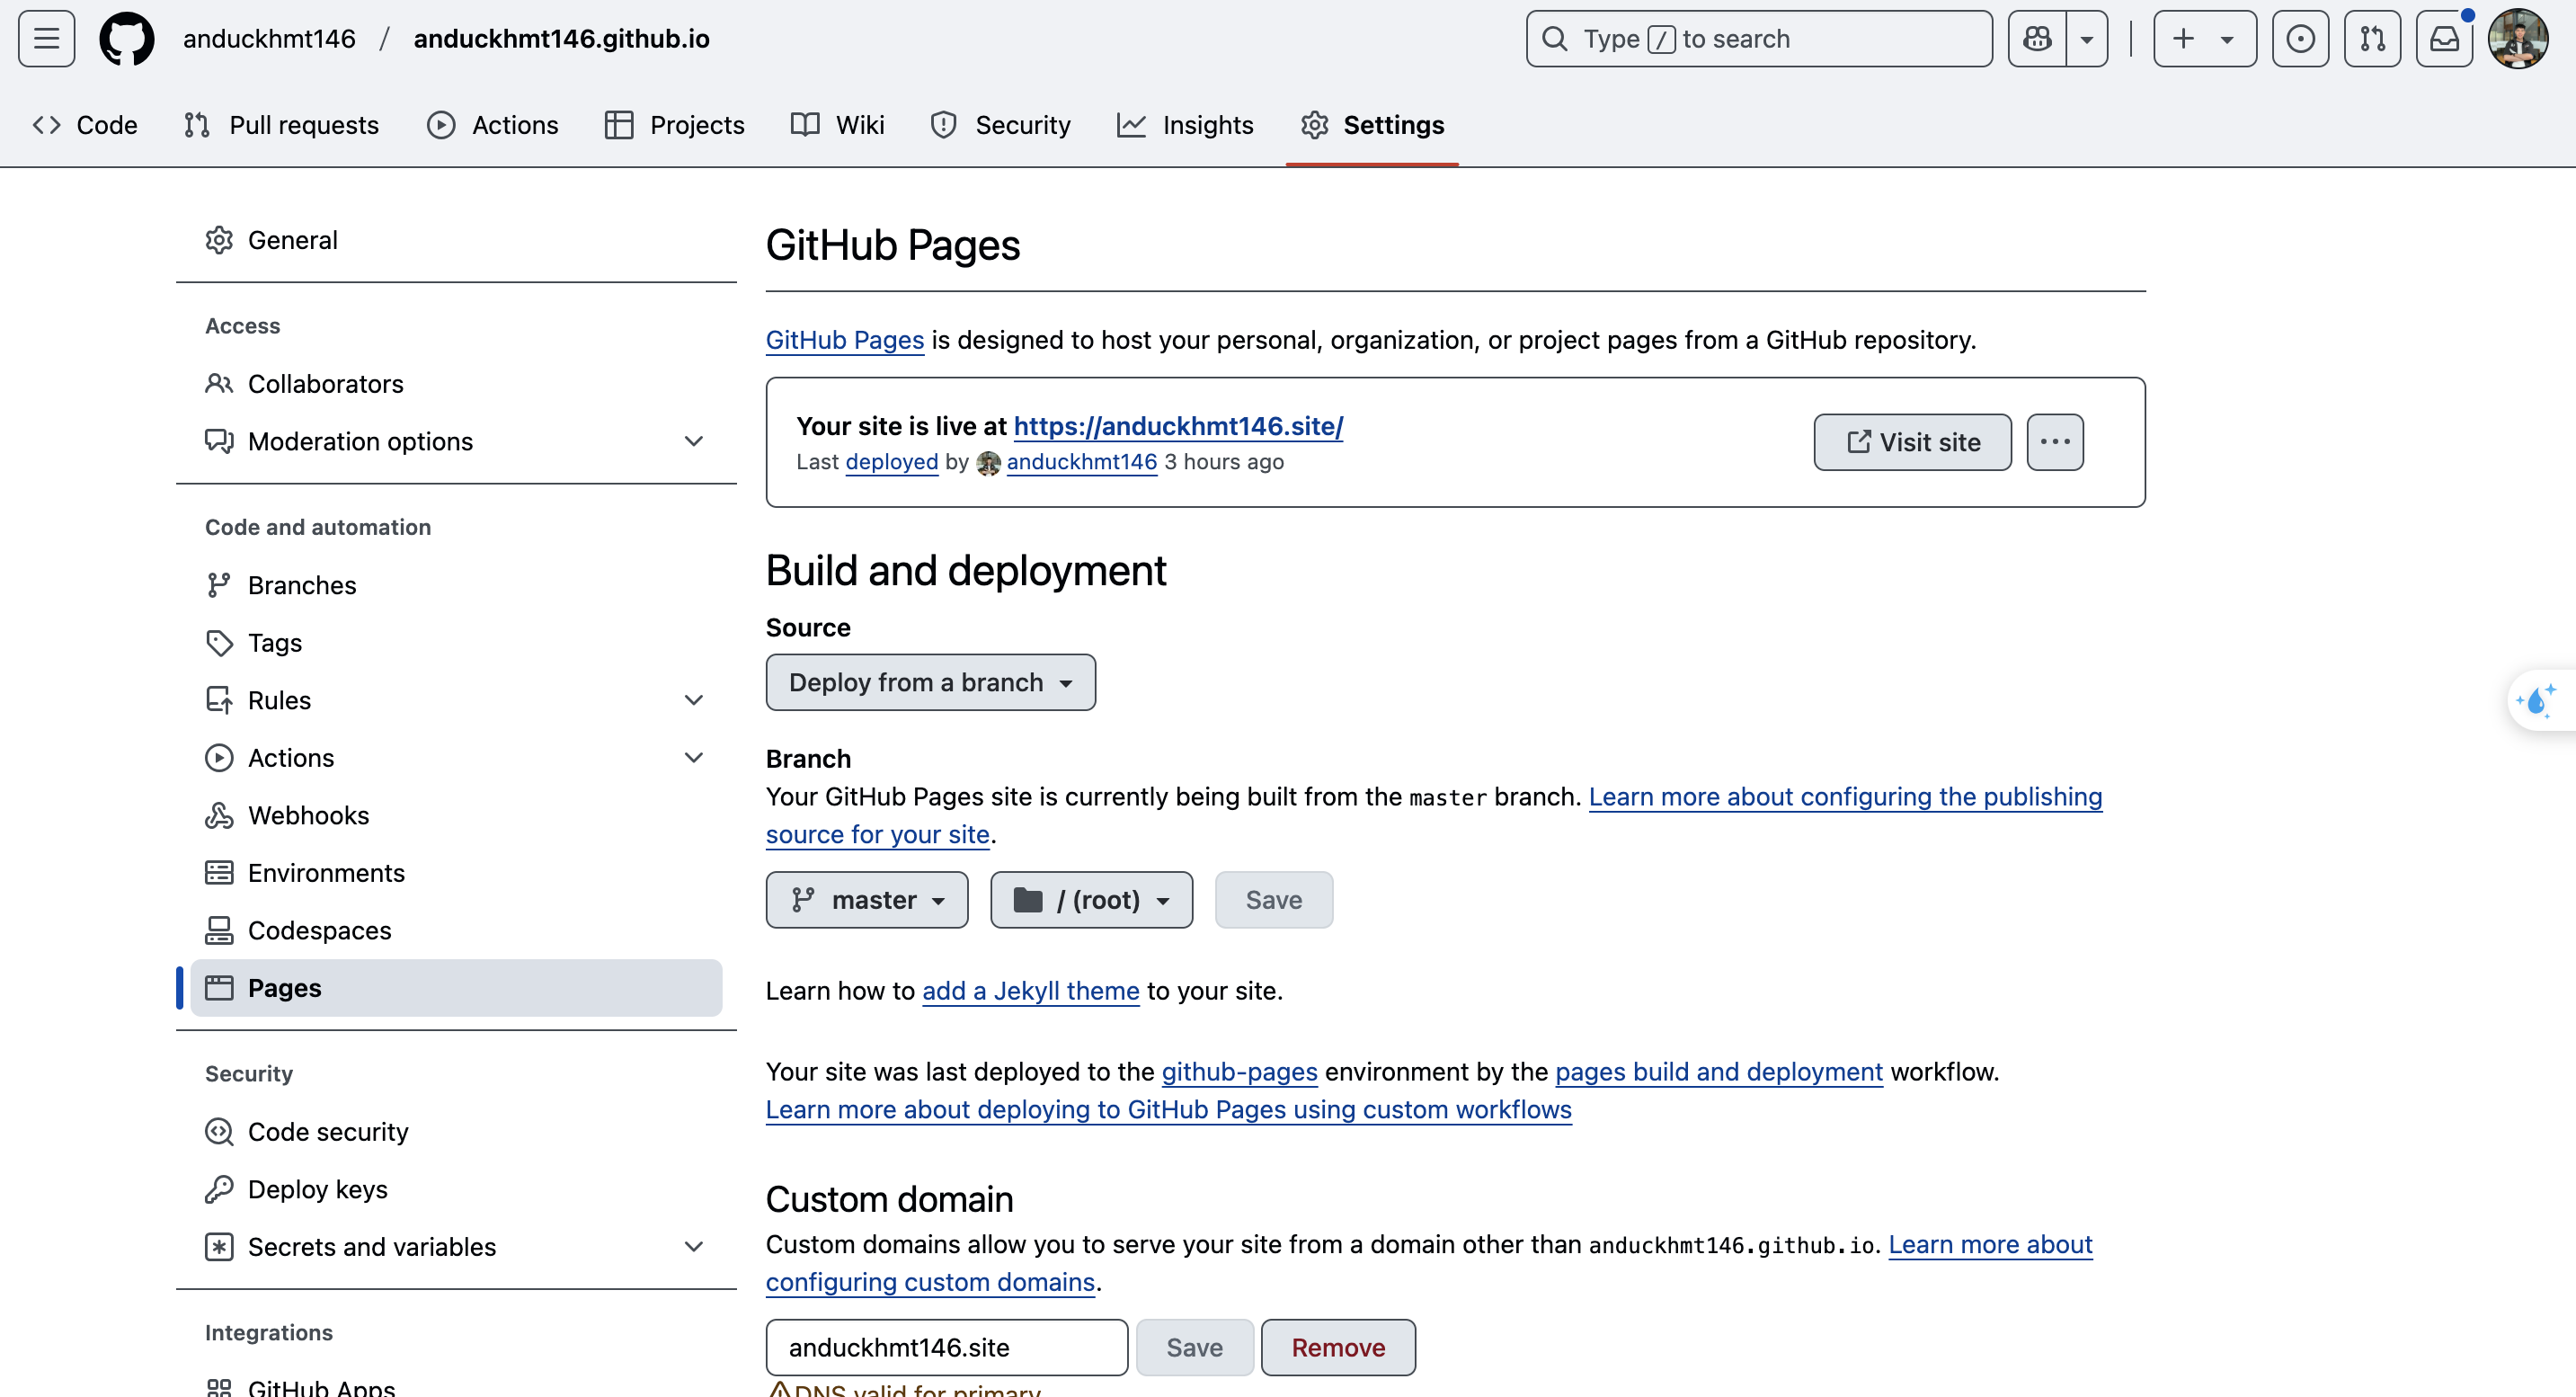
Step 5: Click to Settings in Github page ⇒ Input your custom domain ⇒ Select Github Actions
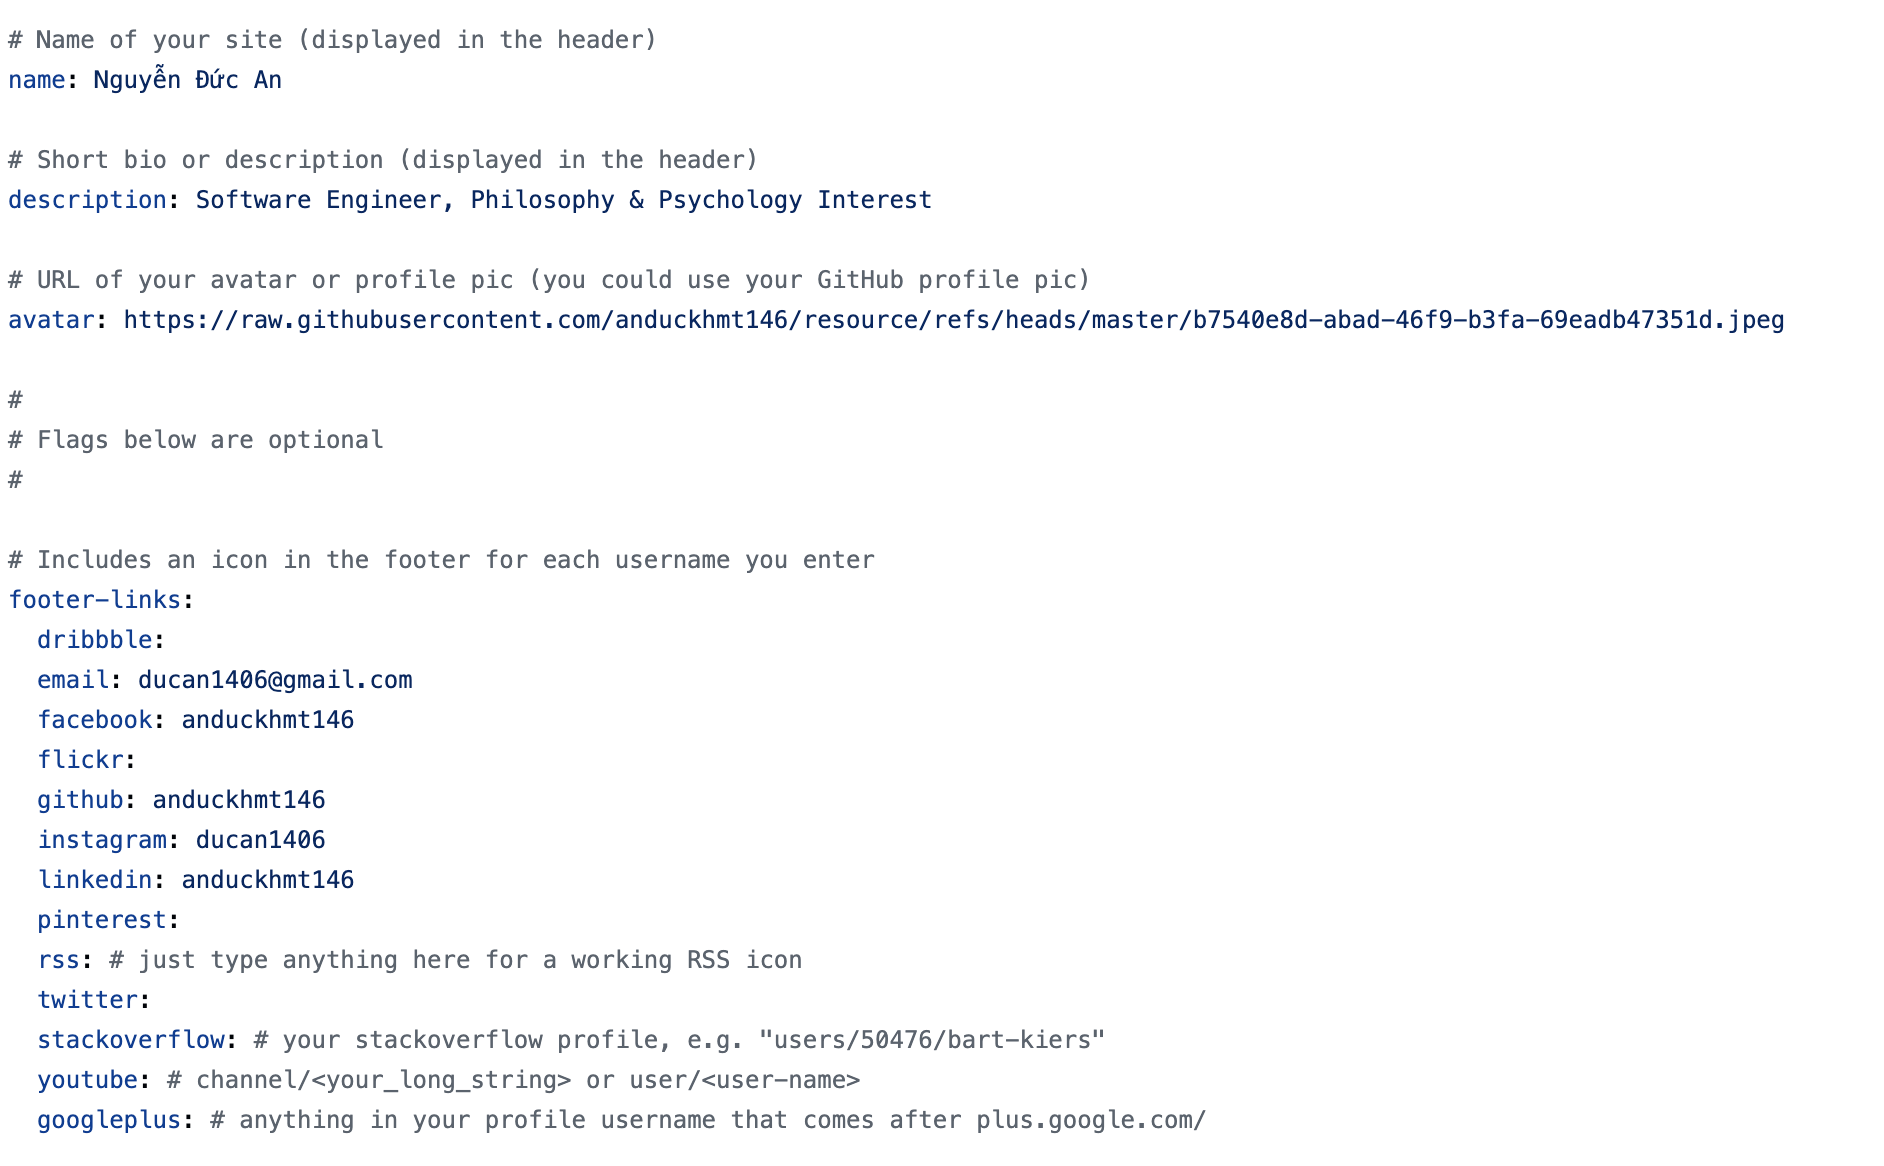
Step 6: Go to _config.yml and change some information in Header (Name, Title, Image) and Footer (Social Media) to yourself, and about.md file for your “About Me” tab.
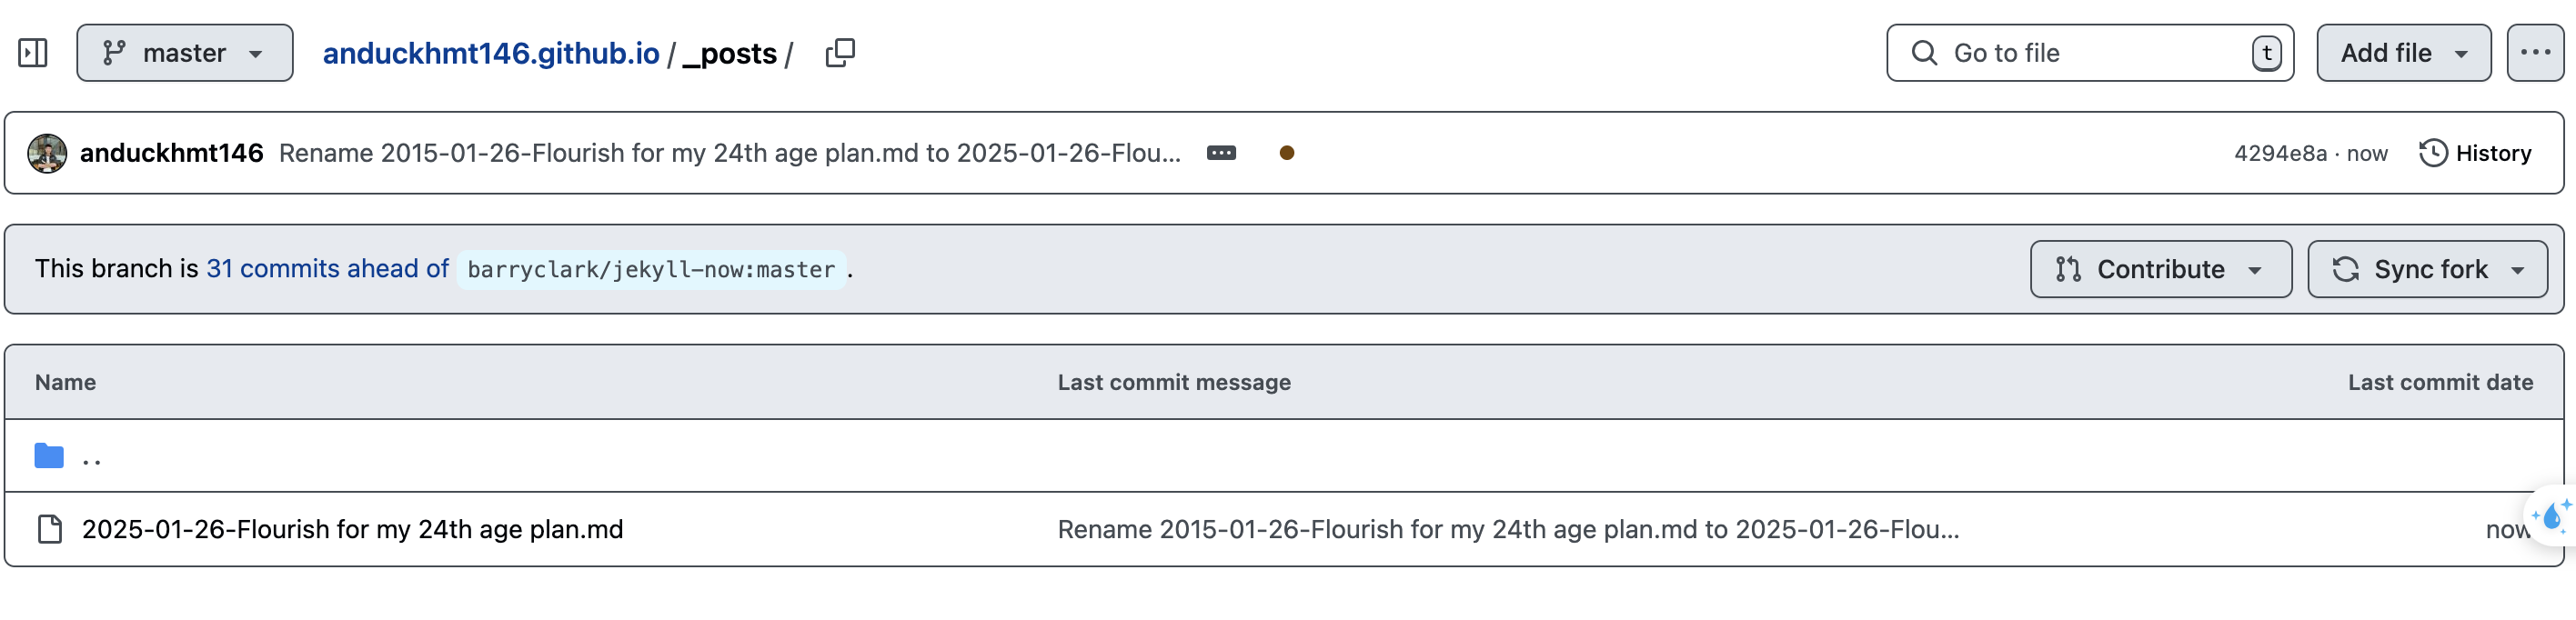
Step 7: When you update a new blog, create a markdown file (.md), you can write the blog in Notion and export to (Markdown & CSV files), then upload to folder posts/, with name of the file is YYYY-MM-DD-Title.md
Remember to update fields, such as field layout with value “post”, and field title with value “your displayed name title” in the top of the markdown file, which is called front-master syntax, references: https://jekyllrb.com/docs/front-matter/

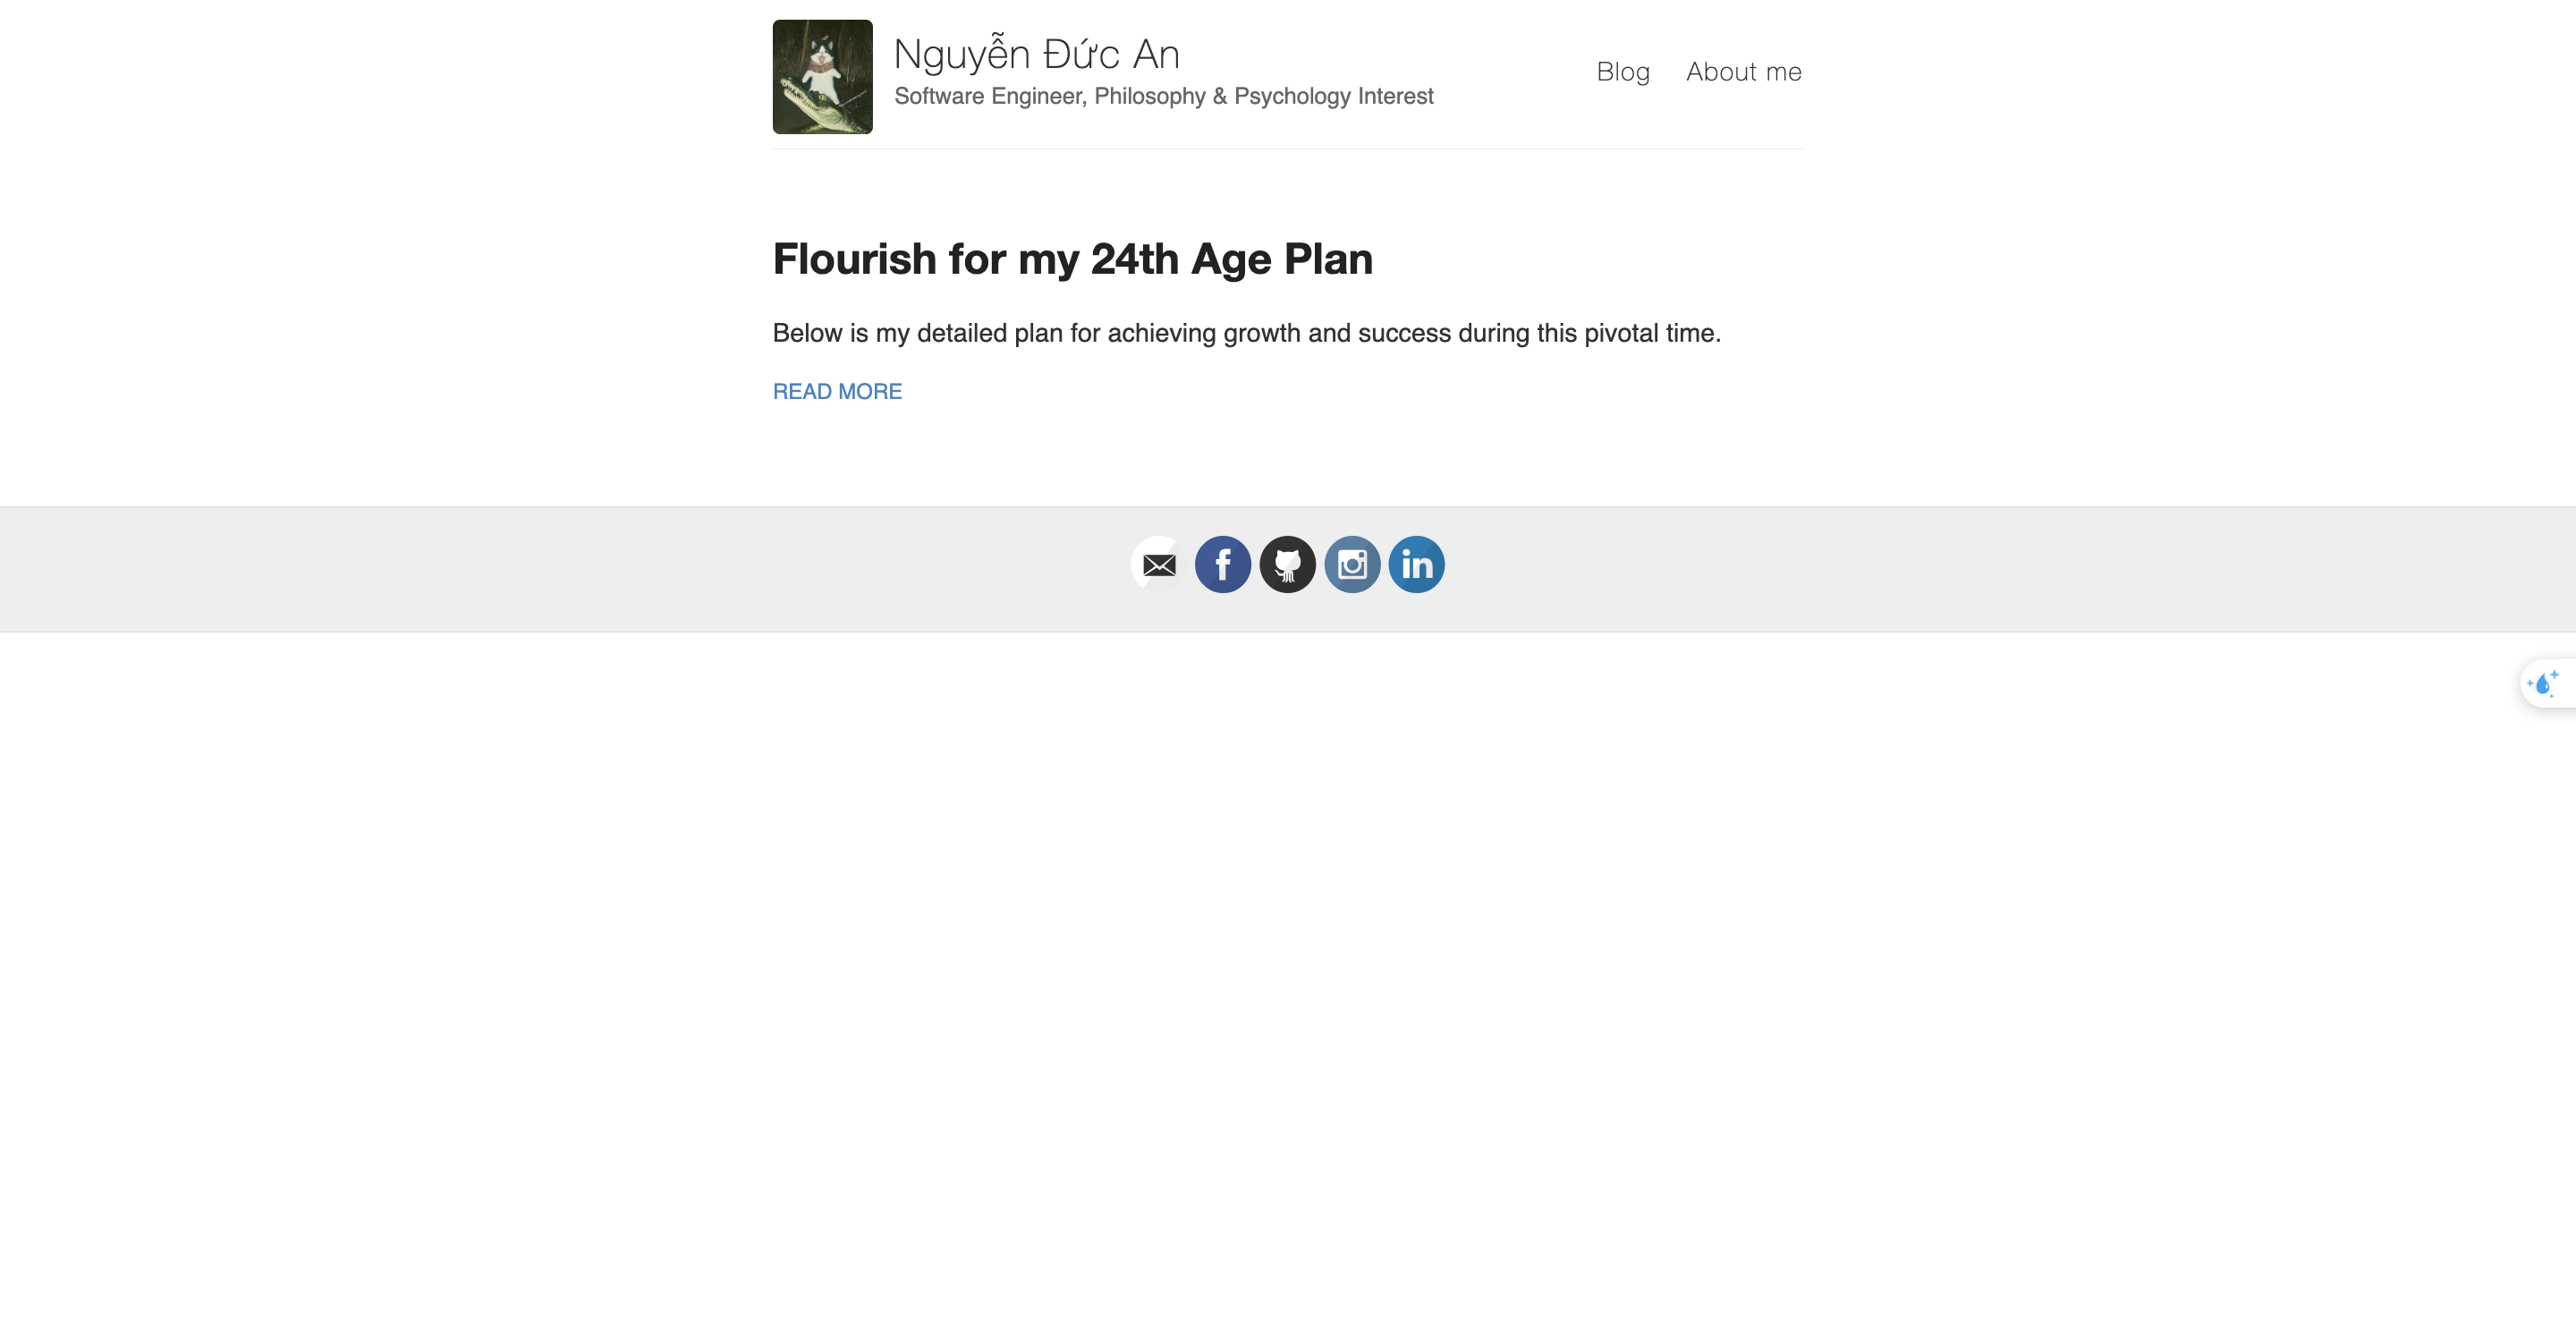
4. Output 😂
Link: https://anduckhmt146.site/
5. Contact
If you have any problems about this tutorial, do not hesitate to contact me via Facebook, Github or Gmail, I am willing to support you to create your first personal blog.